
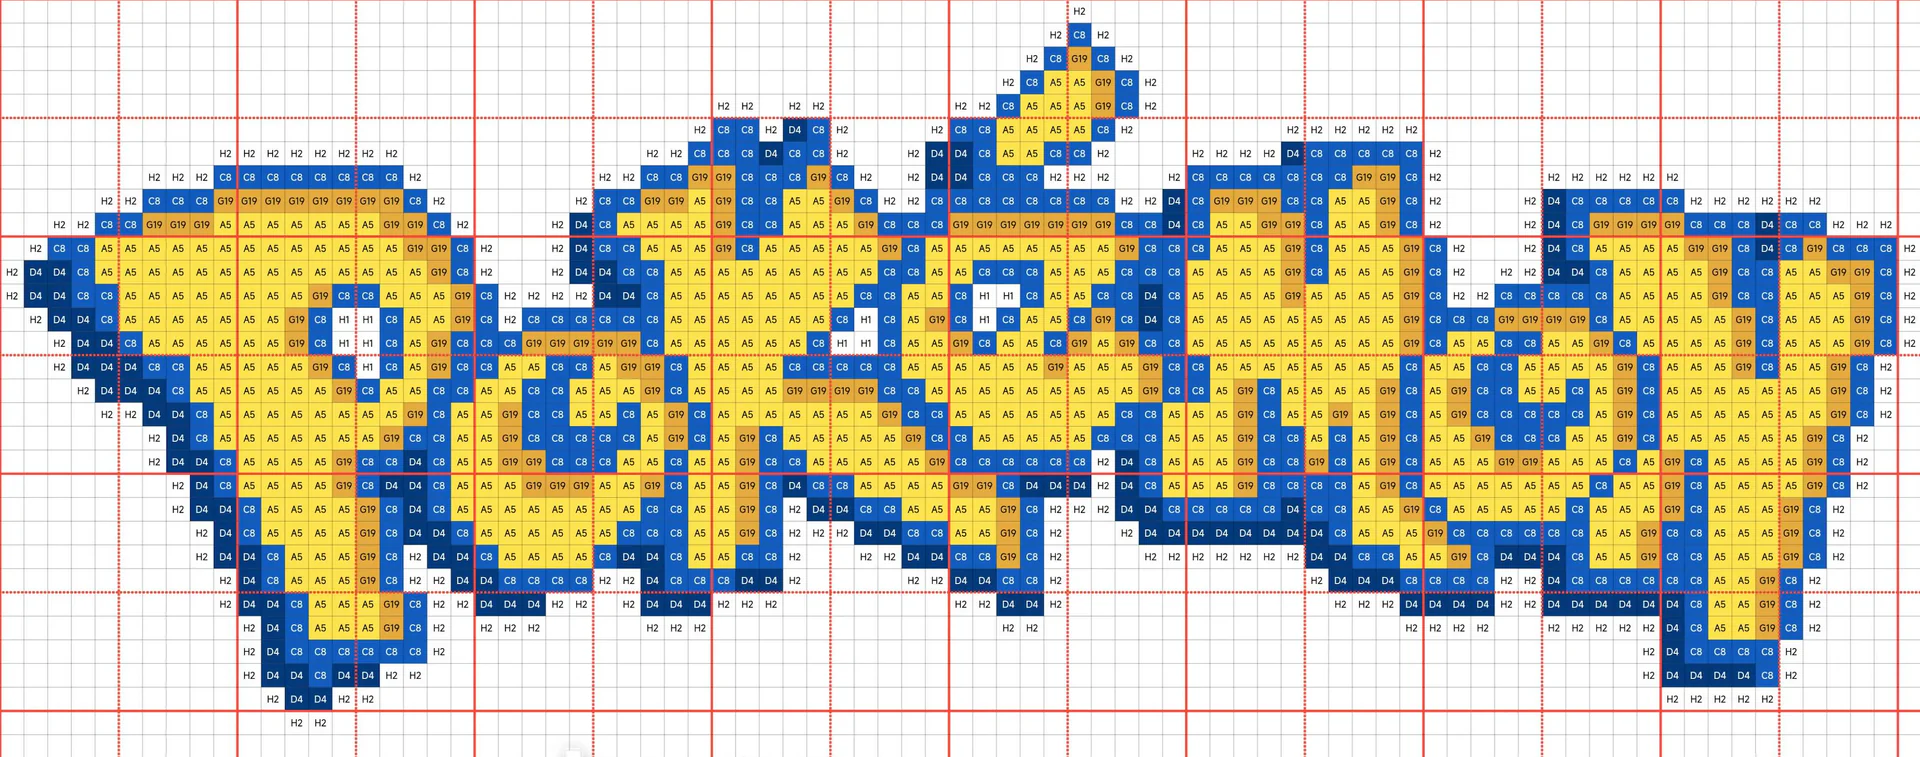
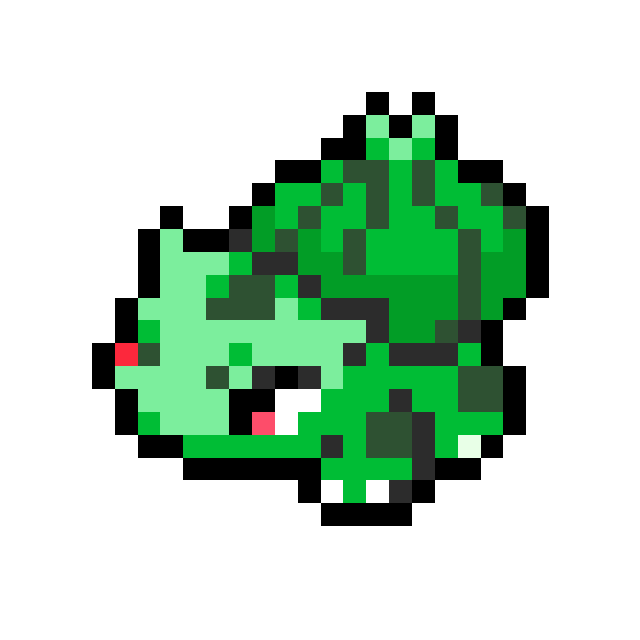
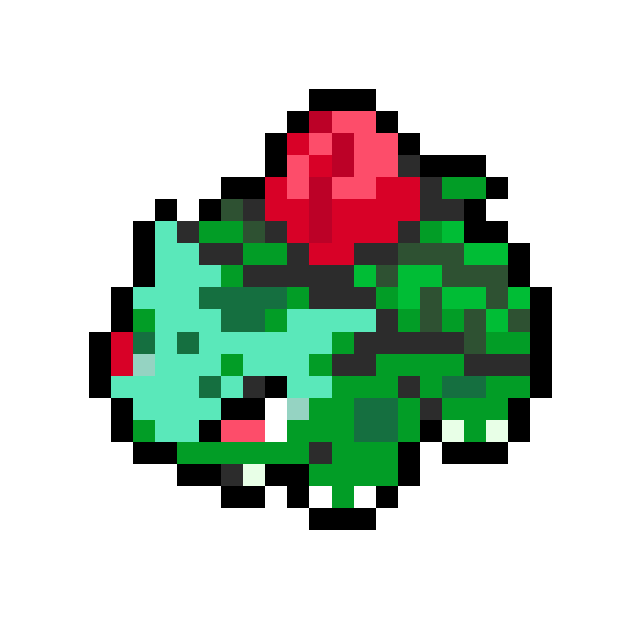
Starter Pokémon Perler bead pattern set
Bulbasaur, Charmander and Squirtle, together with their evolutions.
- 9 patterns
- Free PDF / PNG · 001–009
Compare grid sizes, colors and bead counts to choose a design for your next project.
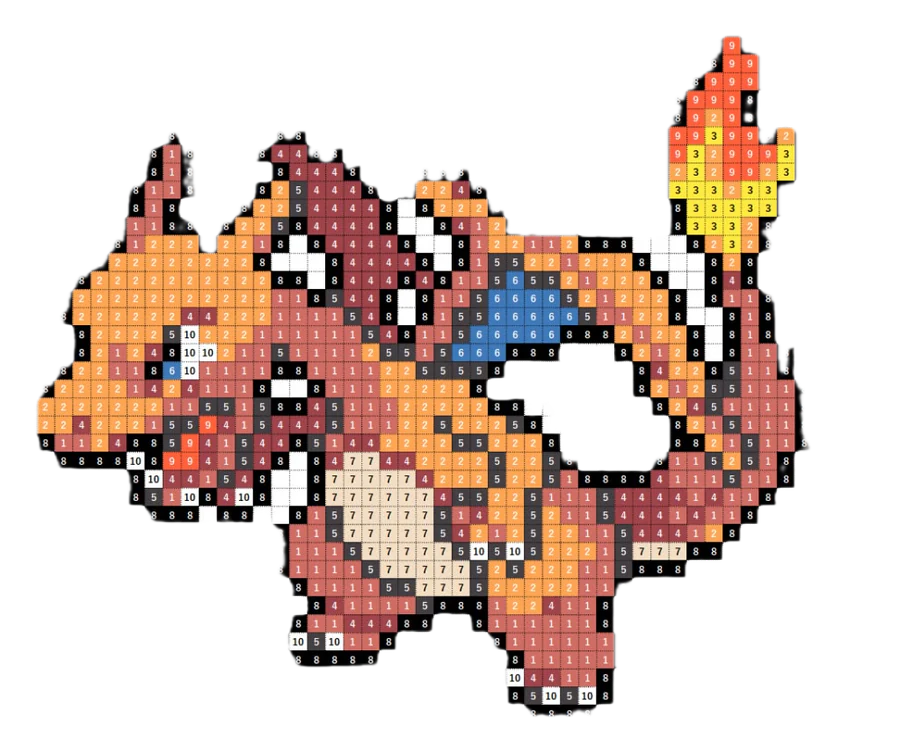

Bulbasaur, Charmander and Squirtle, together with their evolutions.
Check the grid and the number of beads needed for each color. Then place your beads one square at a time, starting with the outline.
Use the row and column numbers along the edges to keep your place. Mark each completed row and check that the outline matches the chart before continuing.
Colors can look different on screen and in print. Use the listed bead codes to find the right colors in your chosen brand.
The total bead count estimates the material needed for the full grid. Individual color totals make it easier to prepare trays before placement begins.
When a design spans several pegboards, align the board edges first. Check important outlines across each seam before filling large color areas.
Character popularity is only one consideration. Grid size, palette size, and total bead count usually have a greater effect on the time and materials required.
Compare the pattern width and height with the pegboards you own. A compact single-board design is easier to place, move, and fuse.
More shades can create smoother details but require more sorting. Strong silhouettes often remain recognizable with a restrained palette.
Review the total and per-color counts before starting. Leave a small reserve for misplaced beads and colors that are close in tone.
Keep the chart beside your pegboard. Check the outline and colors every few rows so you can correct misplaced beads as you go.
Confirm the grid dimensions, connect any required pegboards, and sort the listed colors into separate containers.
Start with the outline, eyes and other facial features, then fill in the larger areas of color. Check each row against the chart as you go.
Work across a small group of rows, then compare the board with the chart from more than one direction.
Follow the bead manufacturer’s heat guidance, use ironing paper, and let the finished piece cool flat before lifting it.
Set up your workspace before opening the bead packets. Use even lighting and separate containers for each color.
The starter collection, 001–009, is free to download as PDF or PNG without an account. Other collections have their own availability and access details.
Look for a grid with clear rows and columns, a color key, dimensions and bead counts for each color. Together, these help you choose a pegboard, prepare your beads and follow the design.
Choose a smaller grid with a strong outline and fewer colors. A single-board design also avoids alignment problems between pegboards.
Yes, but match the colors to that brand’s palette and check bead dimensions before mixing products. Similar screen colors do not always represent the same physical shade.
Display settings, image compression, and room lighting can change color appearance. Use the listed palette or bead code whenever one is provided.
Use Image to Bead Pattern to convert your image into a bead chart. Check the outline, colors and bead counts in the editor before making it.